 View larger
How to write in Cursive, step 1: get ready
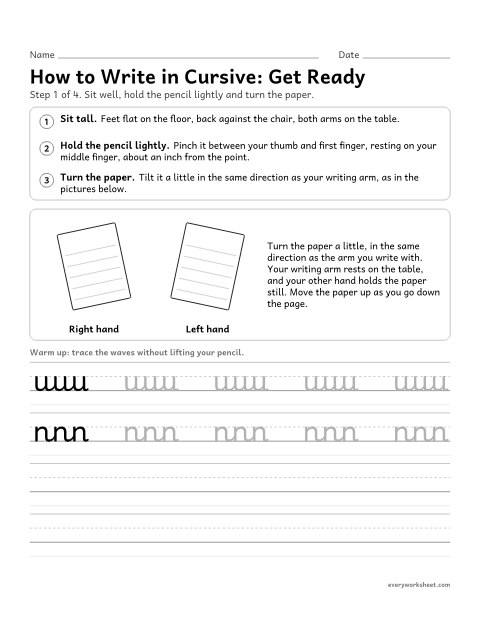
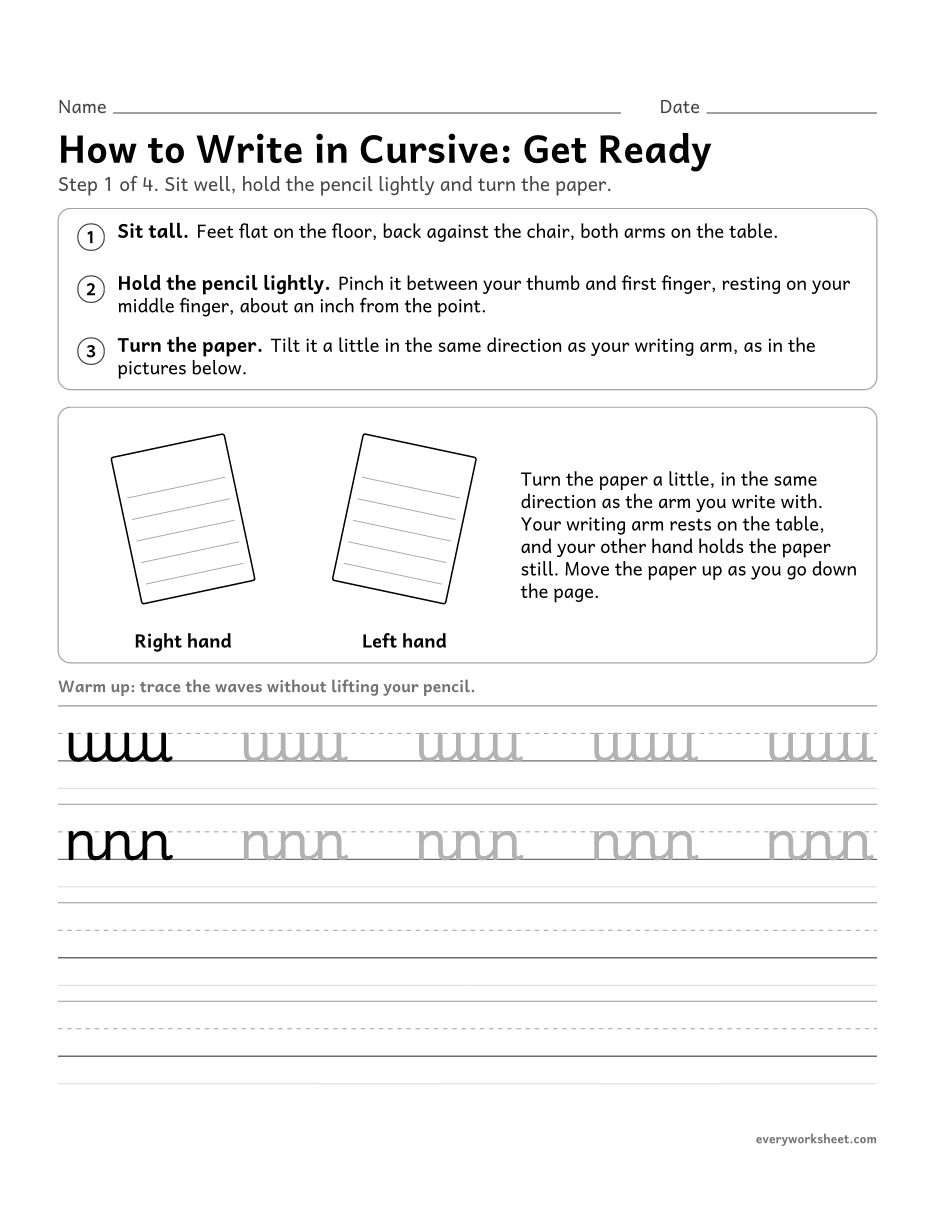
Getting ready to write in cursive
1 page34 KB
A four-step guide with a worksheet for each step: getting ready, the basic strokes, first letters and joining.
View largerGetting ready to write in cursive
1 page34 KB
 View larger
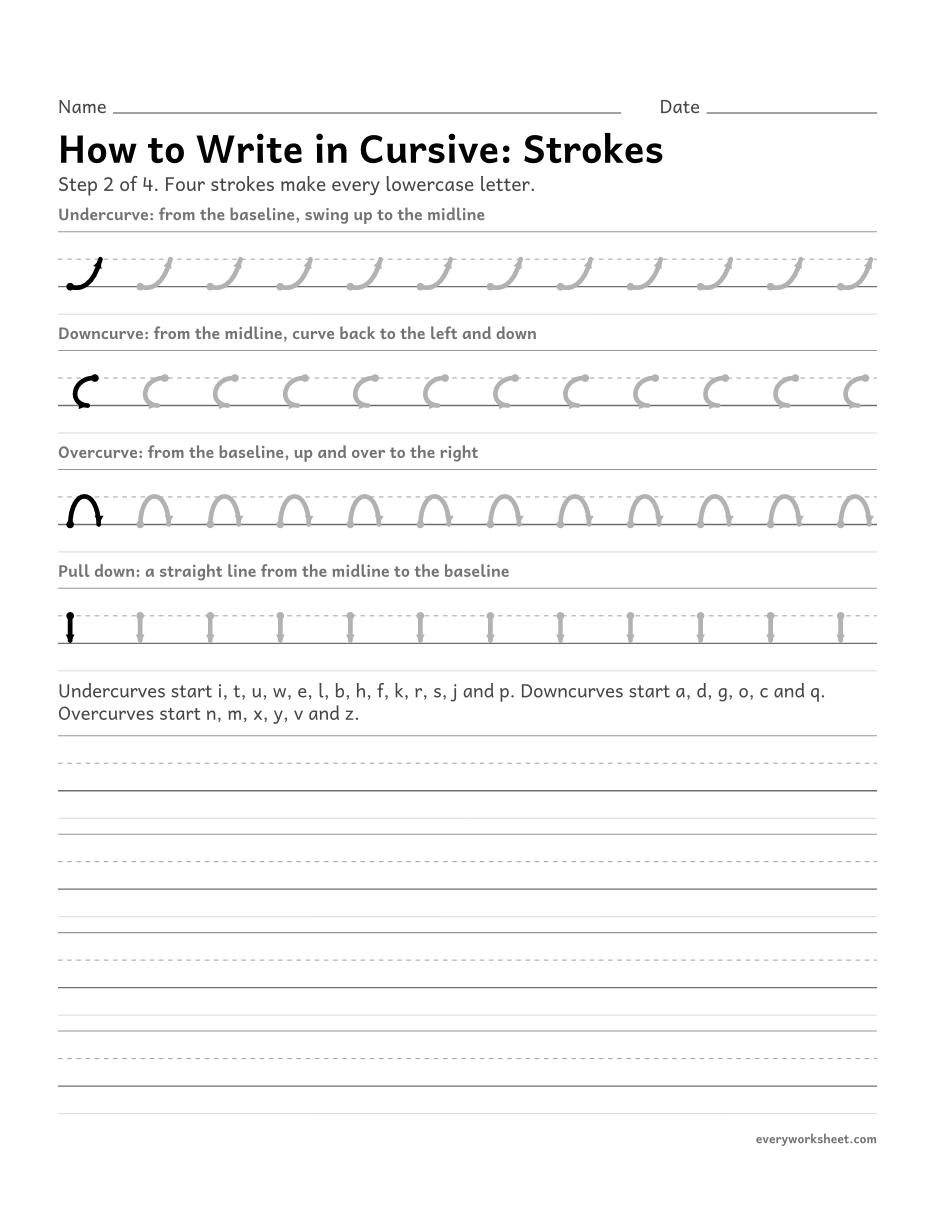
Making the basic cursive strokes
1 page29 KB
 View larger
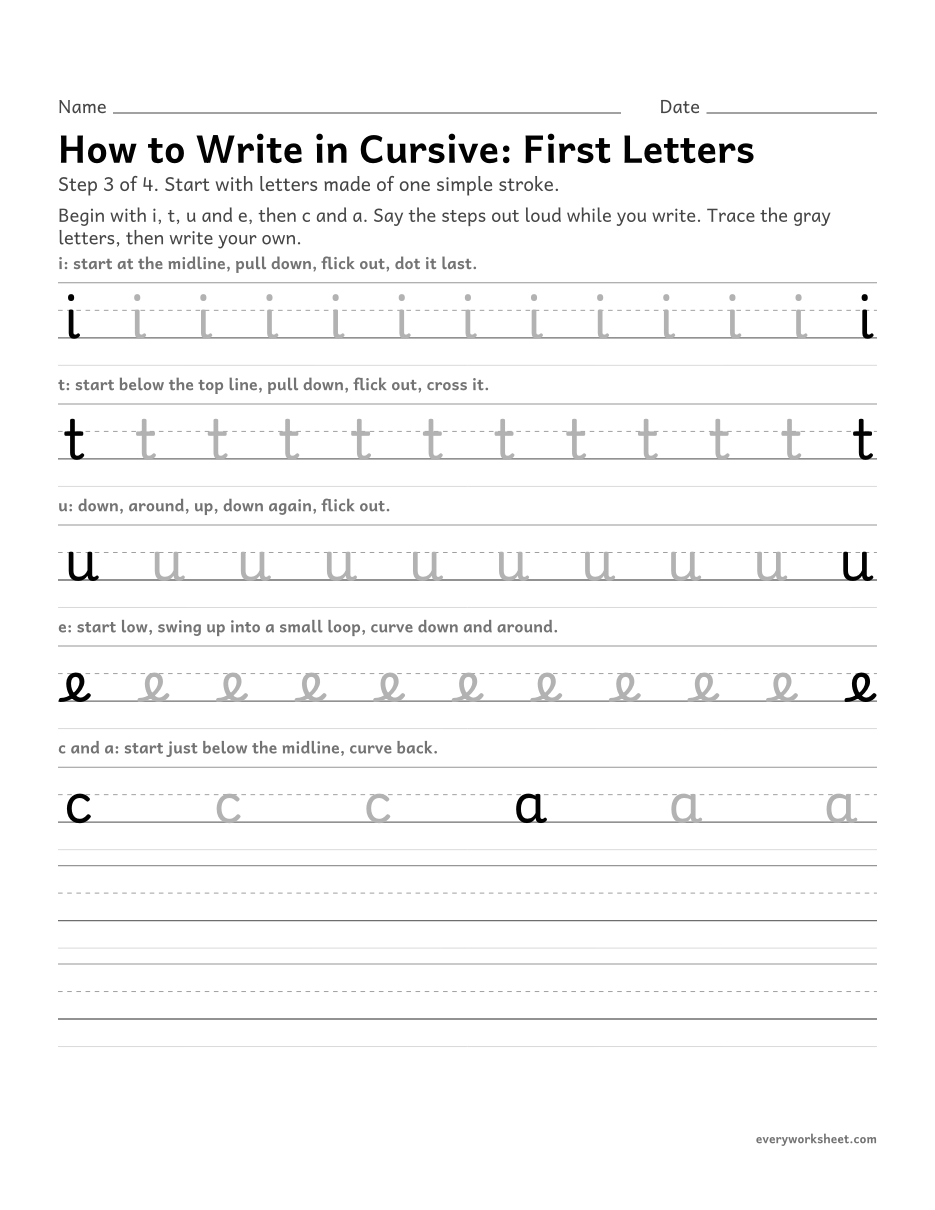
Forming first cursive letters
1 page31 KB
 View larger
Print at 100% (actual size) for the cleanest tracing lines.
Learning to write in cursive takes four steps, and each one has its own worksheet here. Work through them in order, a step or two a day, then move on to the full set of cursive writing worksheets.
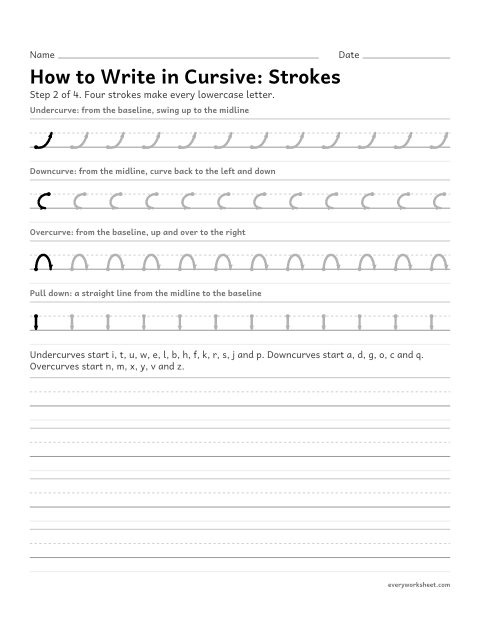
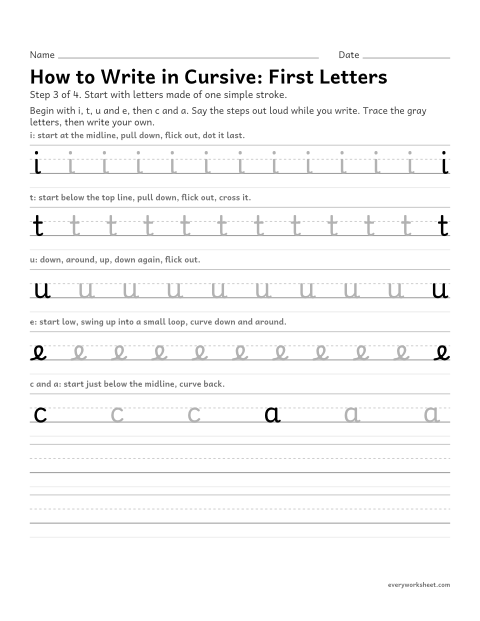
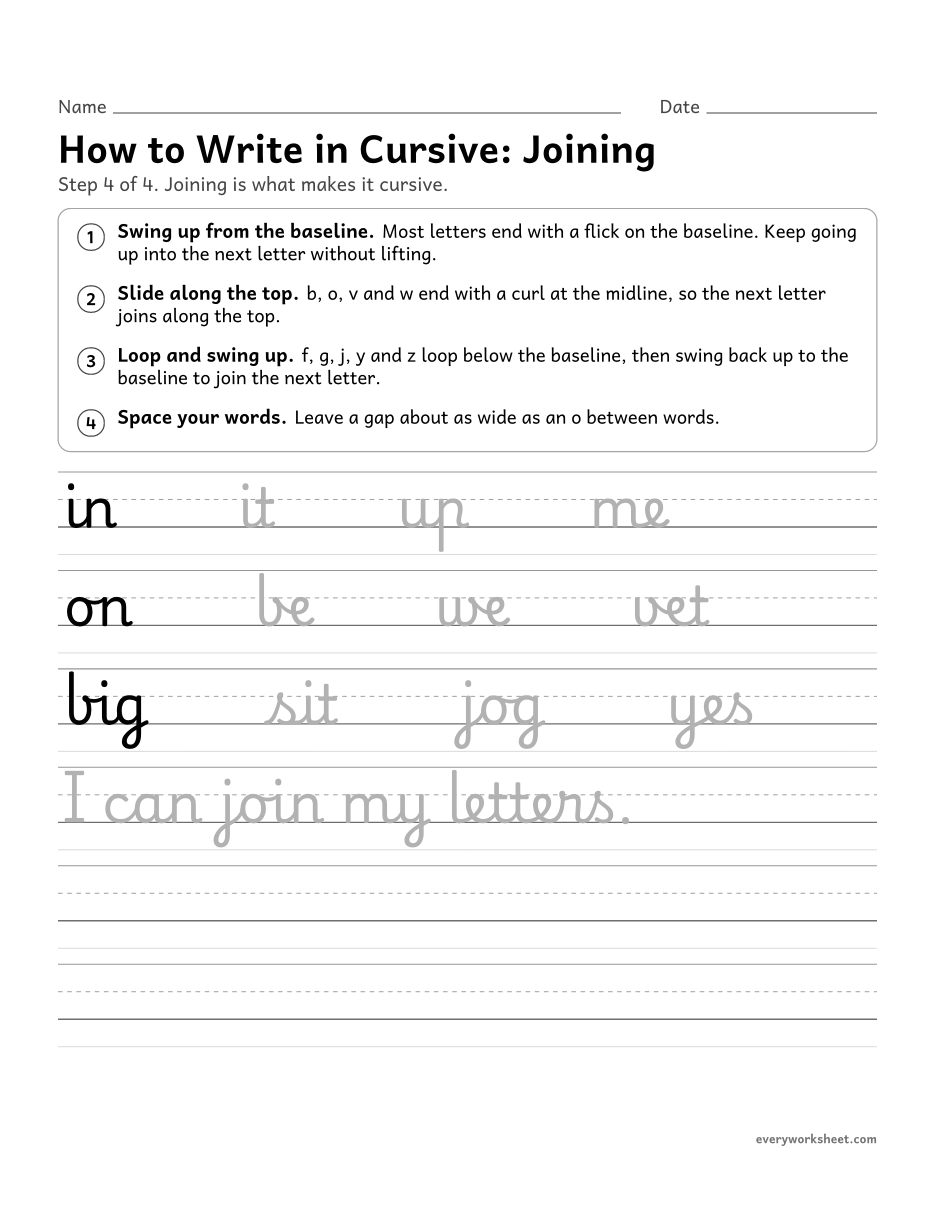
Step 1, get ready: sit tall with both arms on the table, hold the pencil lightly, and turn the paper a little in the same direction as your writing arm. Step 2, the strokes: every lowercase letter is built from four movements, an undercurve, a downcurve, an overcurve and a straight pull down. Step 3, first letters: start with i, t, u and e, then c and a, which use one or two strokes each. Step 4, joining: most letters end with a flick on the baseline that swings straight into the next letter; b, o, v and w join along the midline instead; and f, g, j, y and z loop below the baseline before they join.
These pages teach modern cursive: joined lowercase letters with simple capitals. The letters are large, with a dashed midline, so children can see exactly where each stroke starts and stops.
Texas TEKS Grade 2 (handwriting)develop handwriting by accurately forming all cursive letters using appropriate strokes when connecting lettersTexas TEKS Grade 3 (handwriting)write complete words, thoughts, and answers legibly in cursive leaving appropriate spaces between wordsShort daily practice in the right order: strokes, then a few easy letters, then joins. Ten minutes a day works better than a long session once a week.
Yes. The steps are the same at any age. Adults usually move through the strokes and first letters quickly and spend most of their time on joins.
The undercurve (from the baseline swinging up), the downcurve (curving back to the left and down), the overcurve (up and over to the right) and the straight pull down.